First Setup Guide XUI.one
Complete the XUI.one 1.5.13 first‑time setup with this guide covering access codes, admin account creation, migration options and dashboard configuration.
📘 Overview
This guide shows you how to configure XUI.one right after installation. You learn how to access the setup wizard, handle database migration, create your admin account and enter the dashboard.
🌐 Step 1: Access the Setup Page
When installation finishes in the terminal you receive a link similar to:
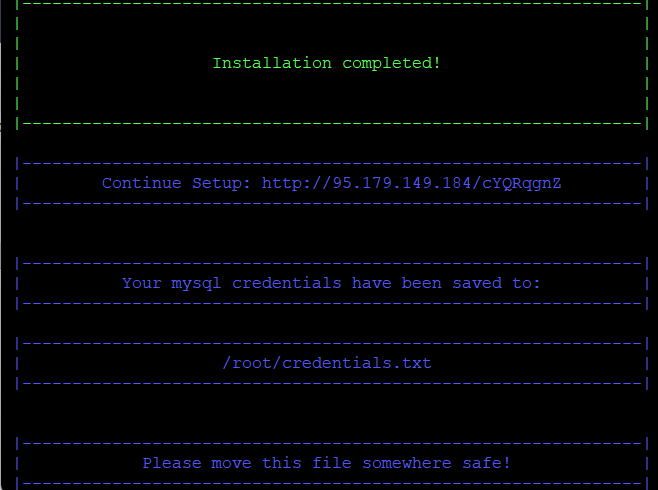
Continue Setup URL: http://your.server.ip:your-access-code
Open your browser and navigate to the displayed URL. This launches the XUI.one Setup Wizard.
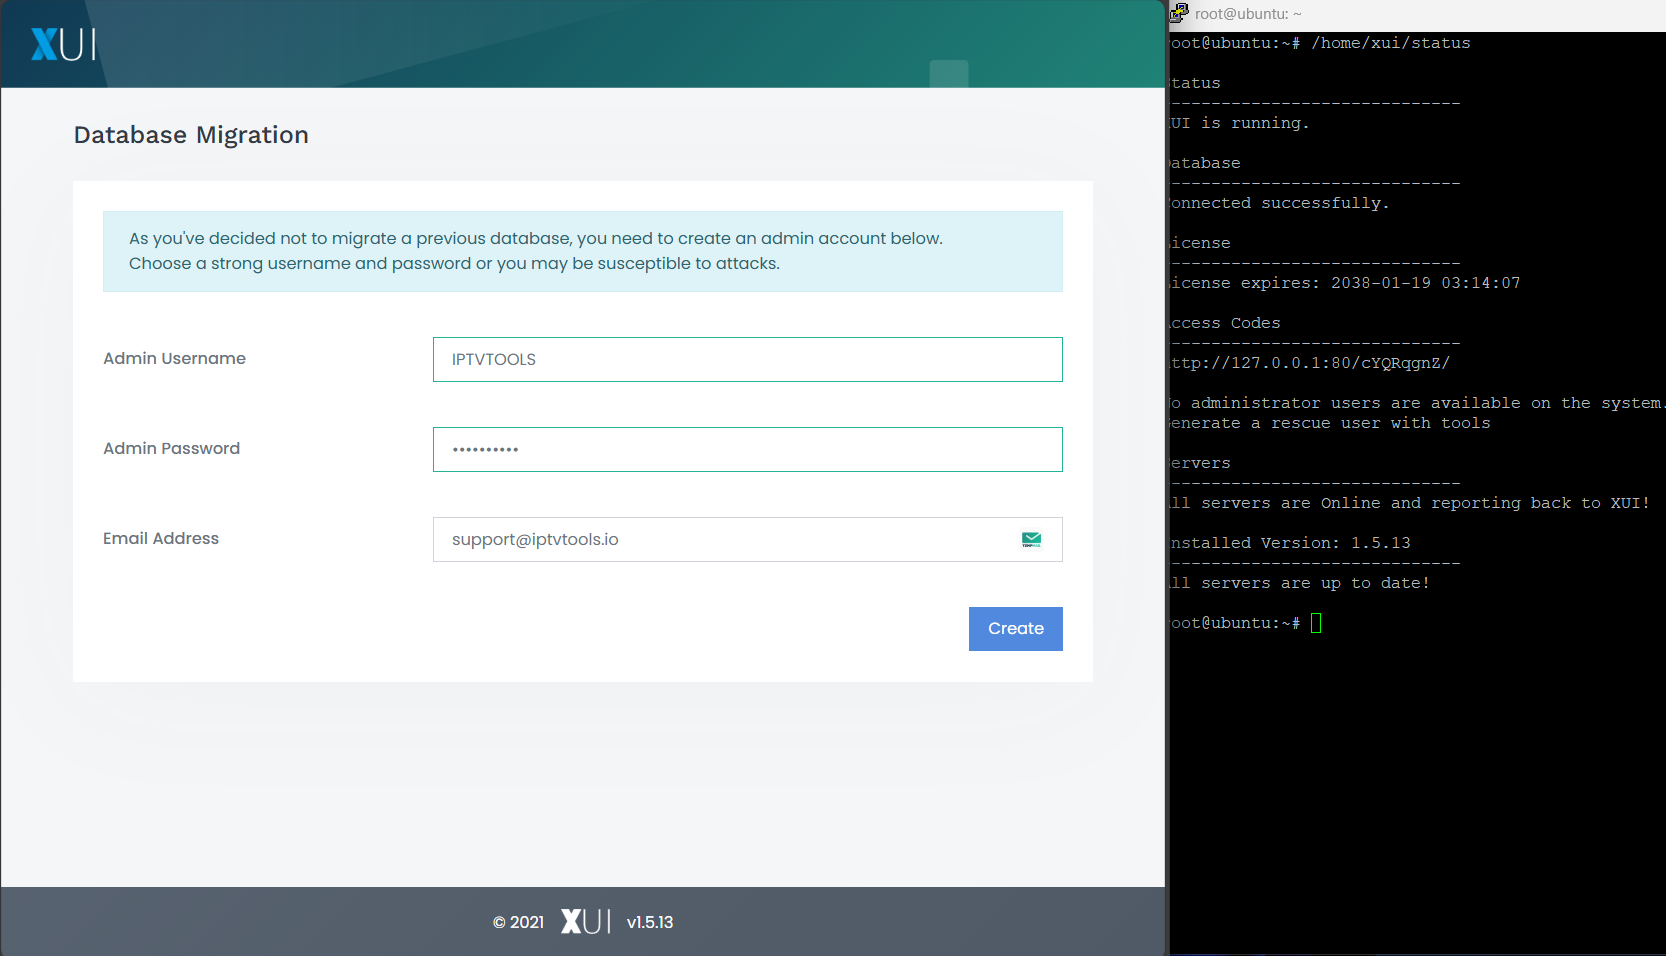
🔄 Step 2: Database Migration (Optional)
The setup wizard asks if you want to migrate an existing database.
XUI.one includes a built‑in migration tool prepared for XtreamUI and compatible panels.
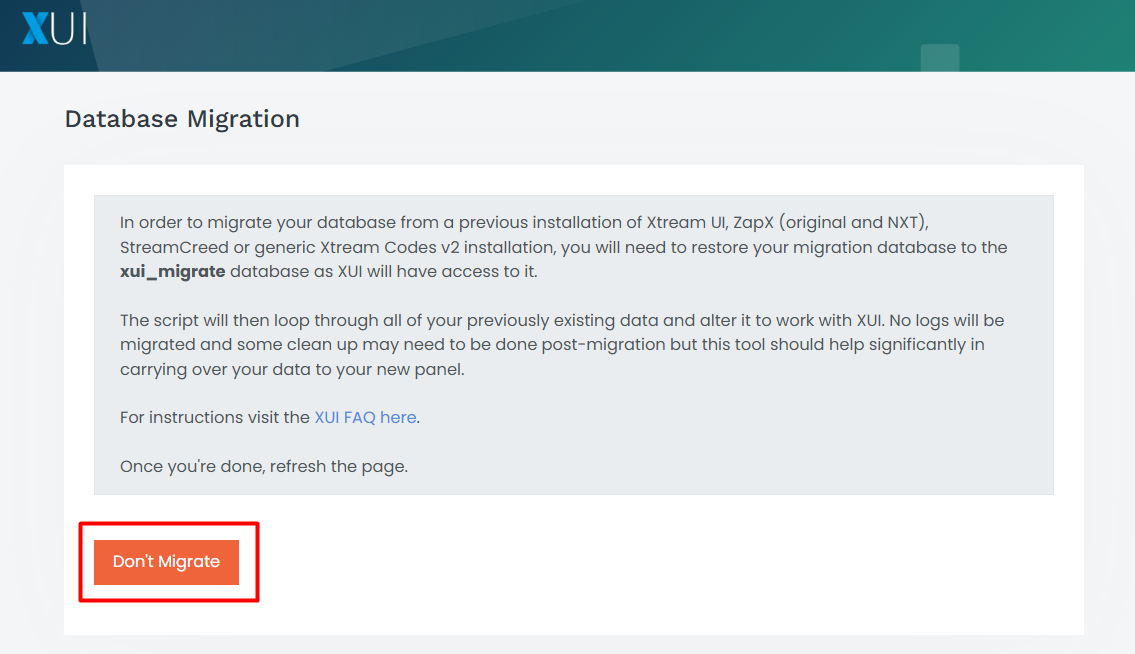
- If migrating from XtreamUI follow the on‑screen instructions.
- If this is a clean installation choose Don’t migrate.
Skipping migration takes you directly to the admin account creation screen.
👤 Step 3: Create Admin Account
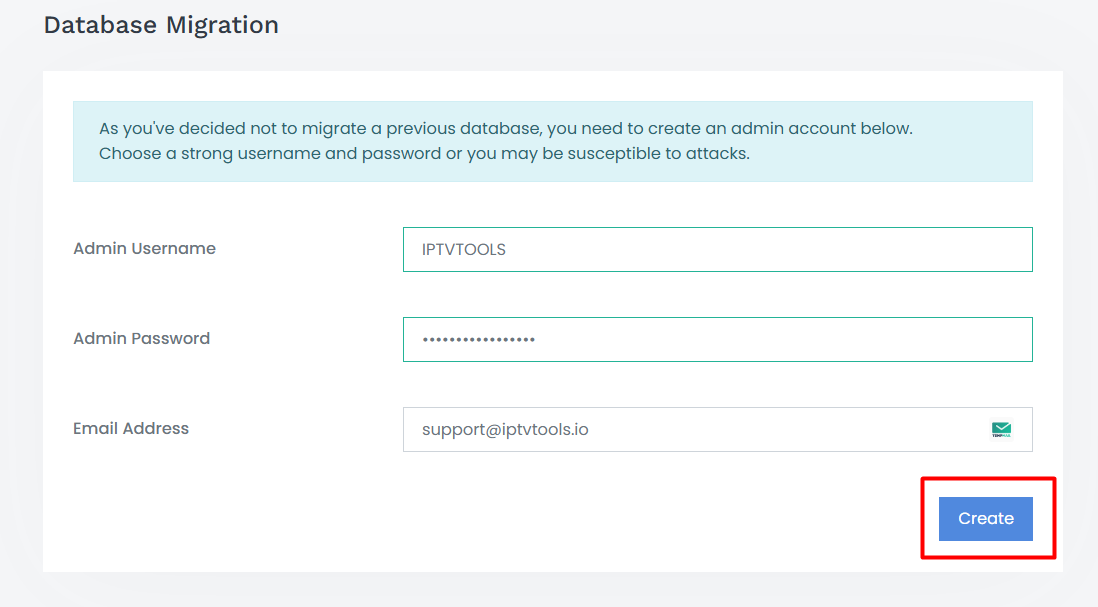
Enter your:
- Username
- Strong password
- Email address
For secure password generation use:
Click Create when ready.
🖥️ Step 4: Access the Dashboard
After creating the admin account you are redirected to your XUI.one Dashboard:
http://your.server.ip:your-access-code
Log in using the credentials you created.
🔐 Default Configuration and Security
XUI.one includes:
- Basic firewall and system security
- Optimized nginx settings for IPTV streaming
- Encrypted database and credentials
- Load balancer readiness
- Security key regeneration module
Your panel is now fully functional.
📌 What’s Next
You can now:
- Add streams and bouquets
- Configure users and resellers
- Set up load balancers
- Set Player and EPG options
- Manage limits and connections
📘 Coming Up Next
The next guide covers XUI.one Terminal Commands, a full list of CLI tools for managing your IPTV environment from the server.