Install XUI 2.0 IPTV Panel
Learn how to install XUI 2.0 IPTV Panel on Ubuntu 24.04 LTS. Step by step tutorial with system requirements, auto installer, offline license activation, and first setup.
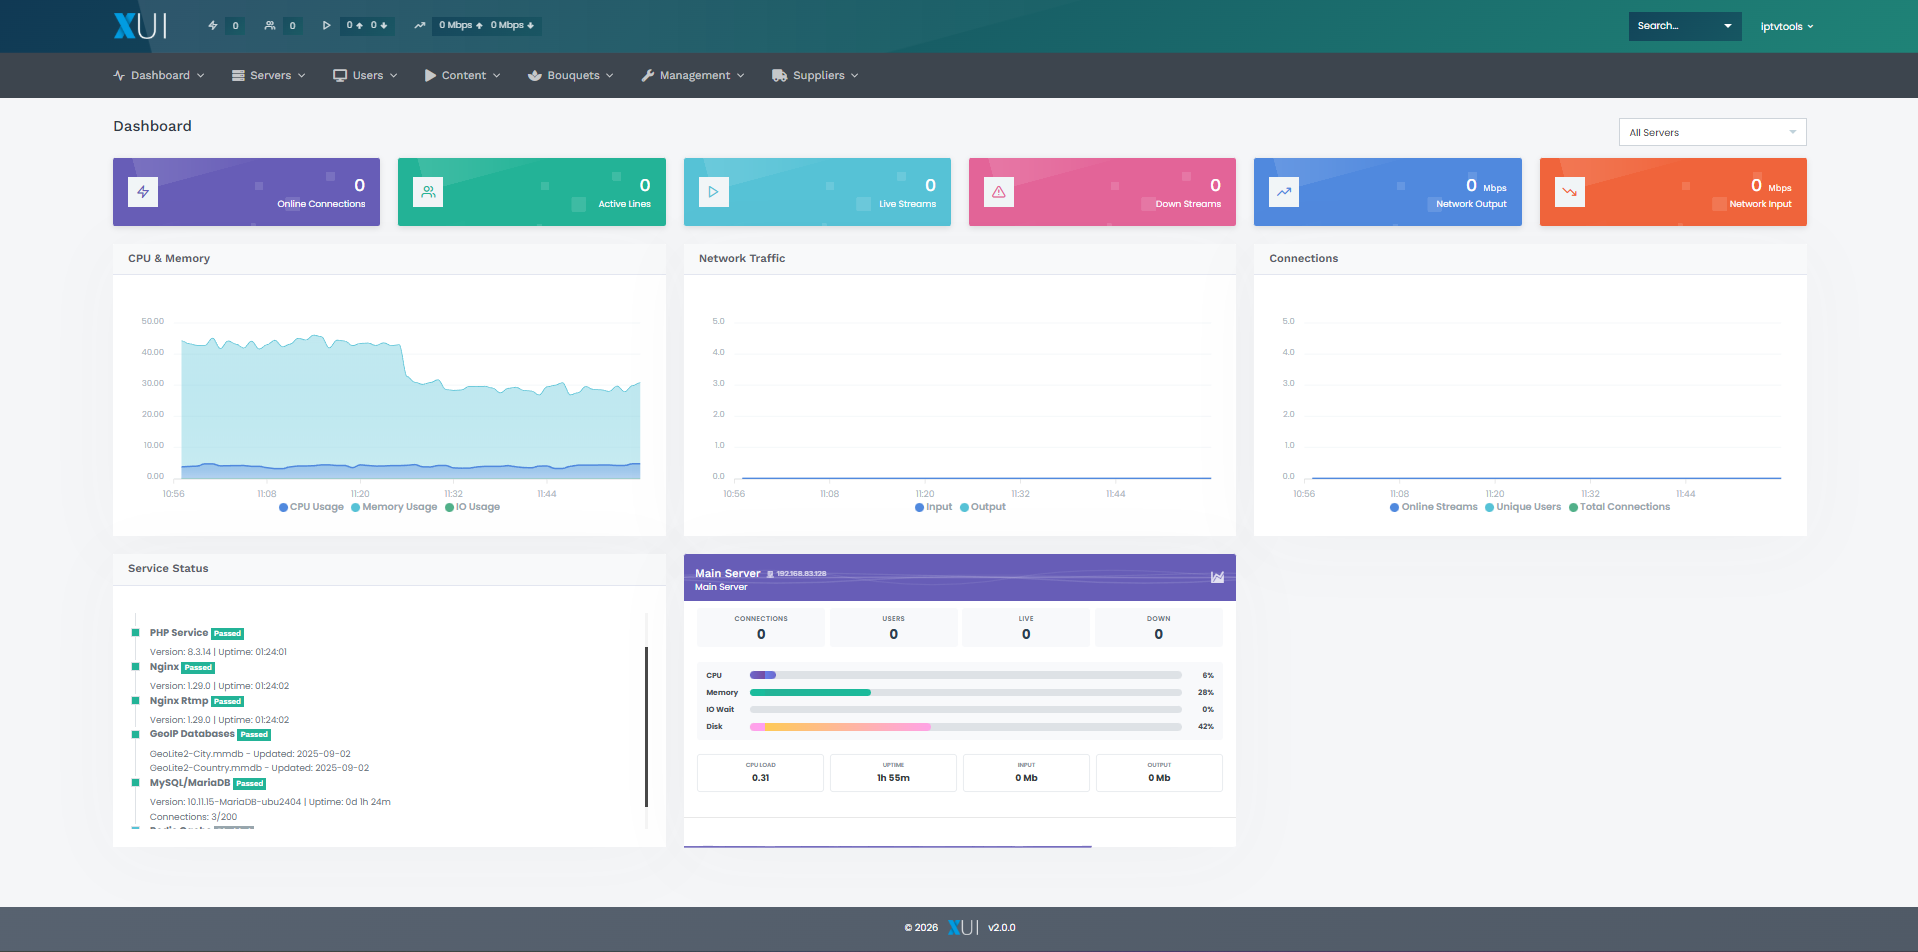
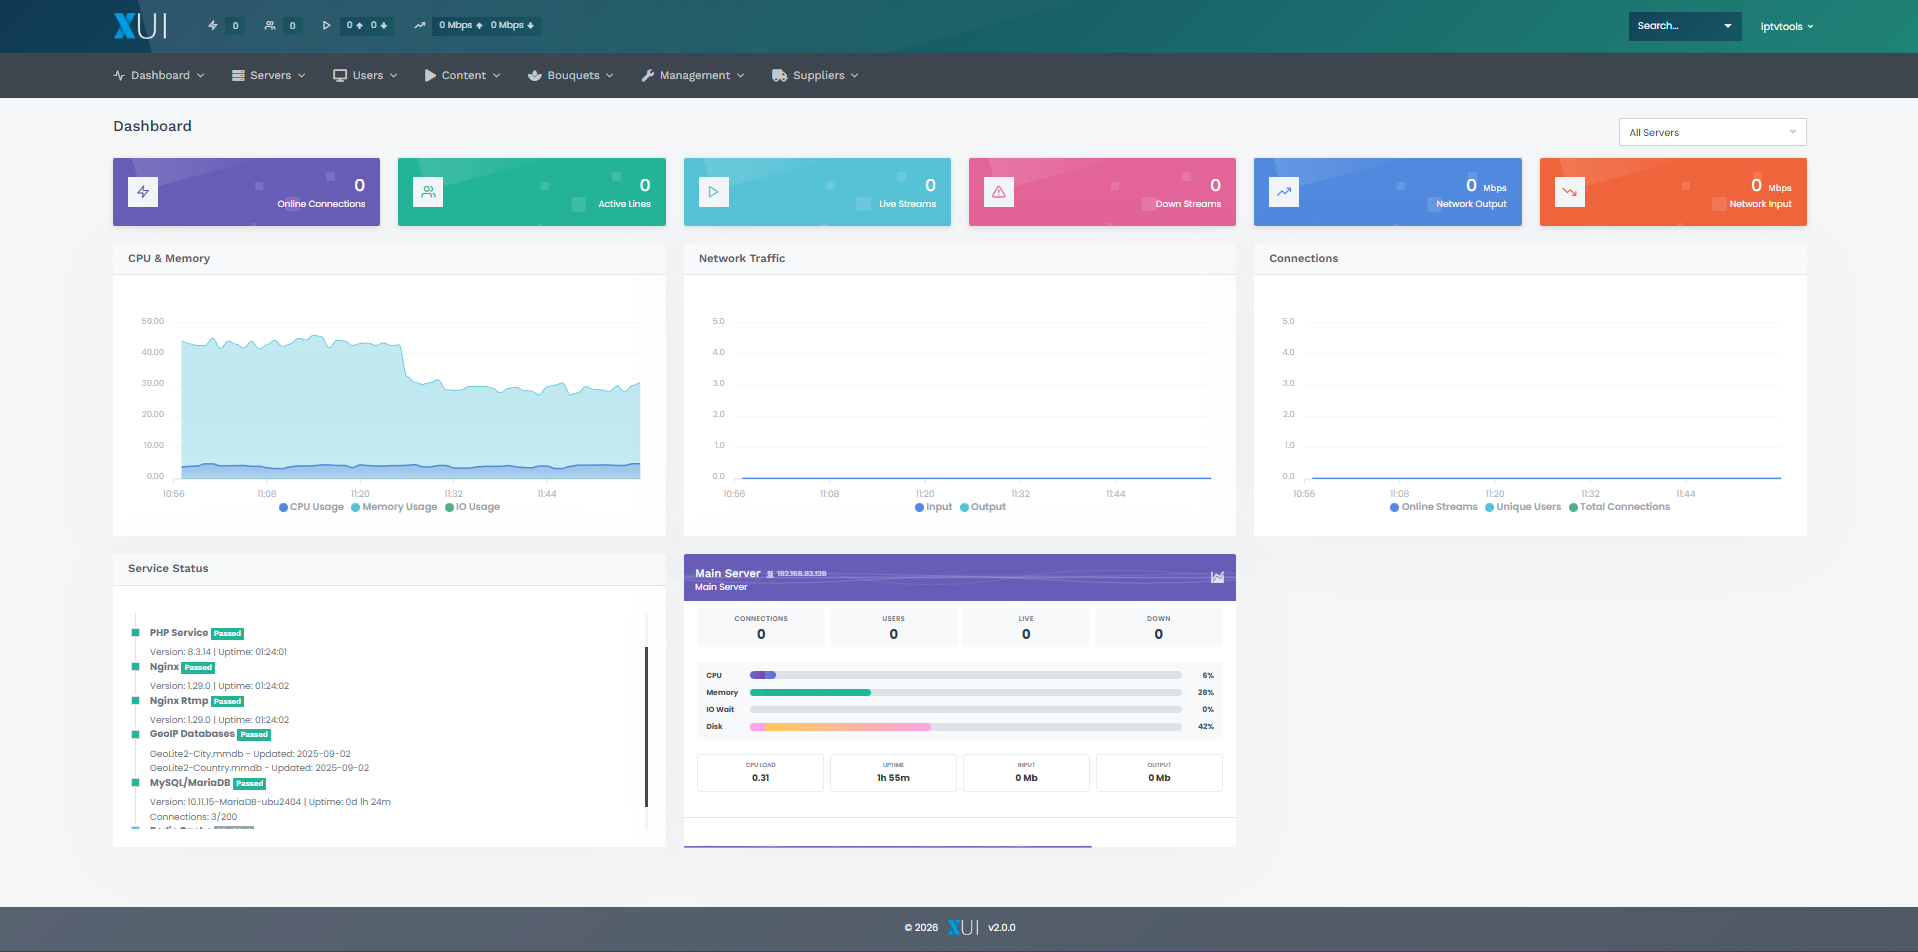
XUI 2.0 Dashboard
🚀 How to Install XUI 2.0 IPTV Panel on Ubuntu 24.04 LTS (Step by Step Guide)
Install XUI 2.0 IPTV Panel on Ubuntu 24.04 LTS - PHP 8.3
🔥 What is XUI 2.0 IPTV Panel
XUI 2.0 is the next generation IPTV Streaming Panel, rebuilt and modernized by the IPTVTOOLS.IO team. It is a major upgrade over the previous official release XUI 1.5.13, using modern technologies, updated dependencies, and long term supported operating systems.
If you need the legacy version, you can still install XUI 1.5.13 using the official guide:
 IPTVTools
XUI 2.0 is designed for professional IPTV environments and focuses on performance, stability, and native integration with modern Linux systems.
🖥️ Recommended Server Environment
For production usage, we strongly recommend installing XUI 2.0 on a dedicated server.
Minimum Production Requirements
- Dedicated Server or High Performance VPS
- CPU: 4 Cores or more
- RAM: Minimum 8 GB
- Storage: SSD or NVMe
- Network: 1 Gbps recommended
- Operating System: Ubuntu 24.04 LTS (fresh install)
Ubuntu 24.04 LTS is intentionally chosen for its long term security updates and stable performance.
⚙️ Preparing the Server
Make sure you have a fresh Ubuntu 24.04 LTS installation and root access.
Login via SSH and open a terminal as root.
📦 This is the previous version of XUI 2.0 Build 260512FF48
Download the required files using wget.
📦 Step 1. Download XUI 2.0 Installation Files
Download the required files using wget.
🔐 Step 2. Set Execute Permissions
Make the installer executable.
chmod +x install
▶️ Step 3. Start the Installation
Run the auto installation script.
./install
The installer will check operating system compatibility and install all required packages automatically.
🛠️ sysctl Configuration Prompt
During installation, you will be asked:
Overwrite sysctl configuration? Recommended! (Y / N):
If you do not use a custom sysctl.conf, type:
Y
This applies optimized TCP settings and correct file limits.
If you already use a custom sysctl.conf, choose:
N
✅ Installation Complete
After a few seconds, the installation will complete successfully.
- Access details will be displayed on the screen
- Credentials will be saved locally in:
credentials.txt
Keep this file safe.
🌐 Step 4. Access the XUI 2.0 Panel
Open your browser and access the URL displayed at the end of the installation.
The first page displayed will be the License Activation screen.
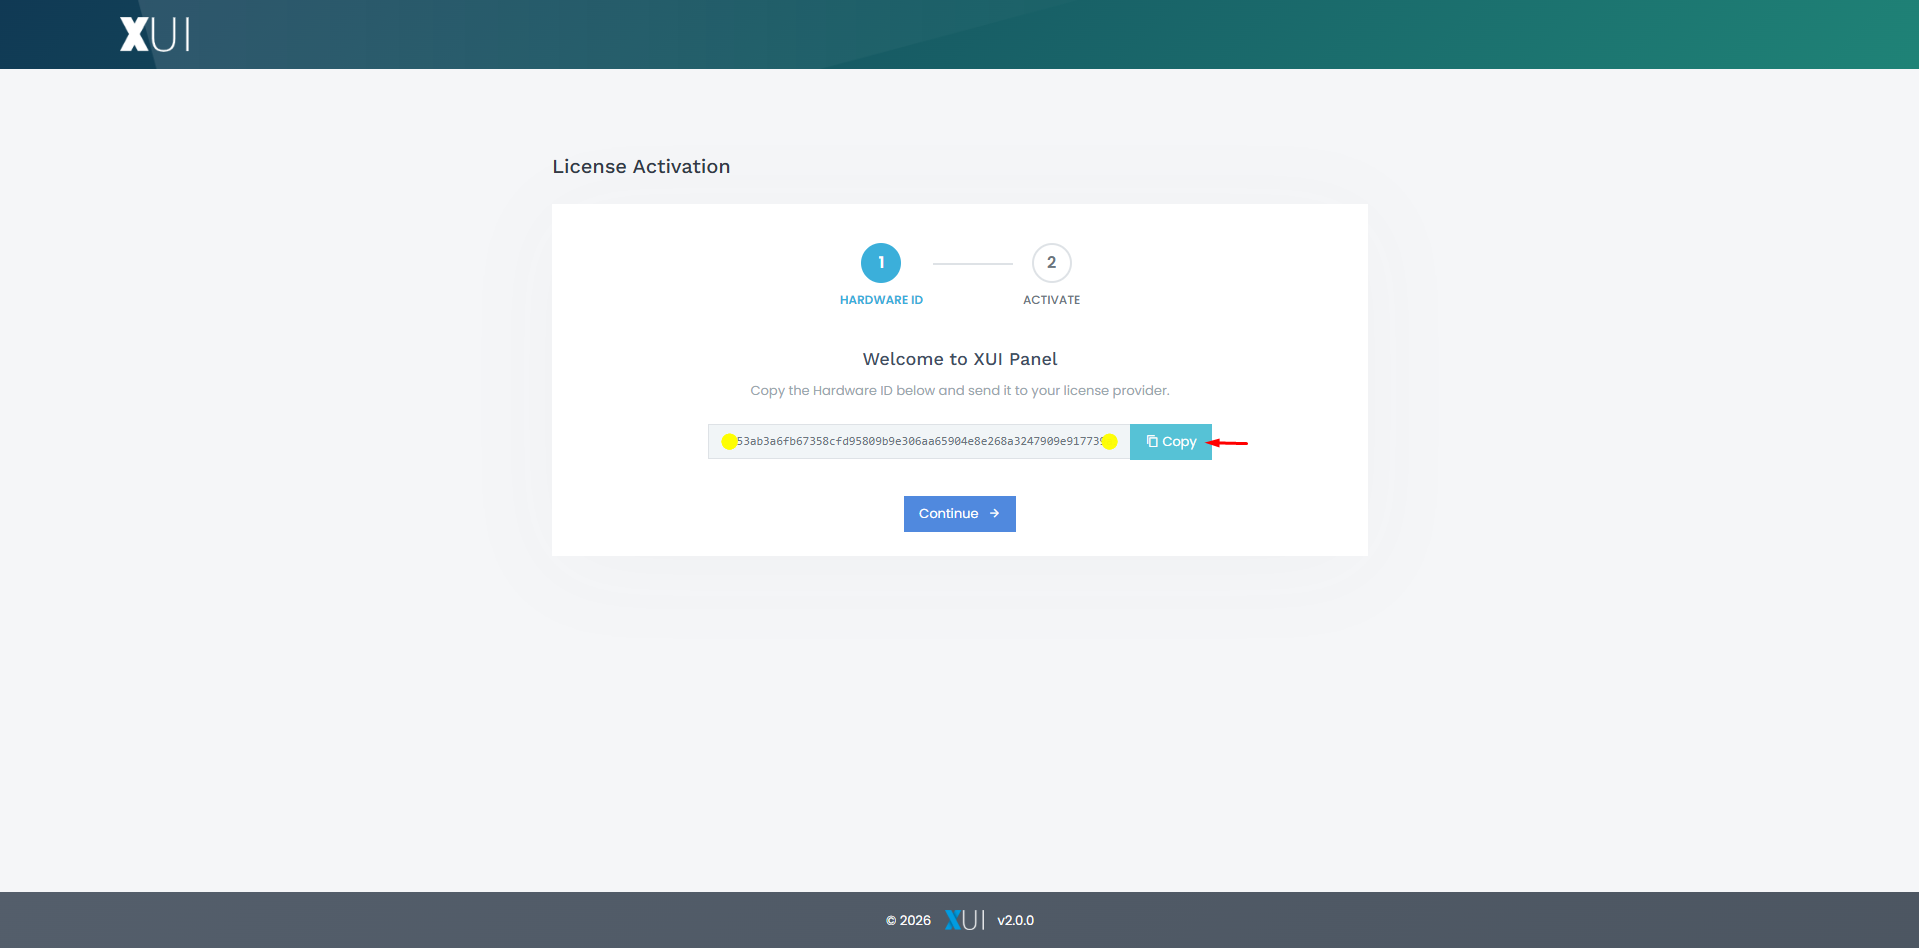
🔑 License Activation
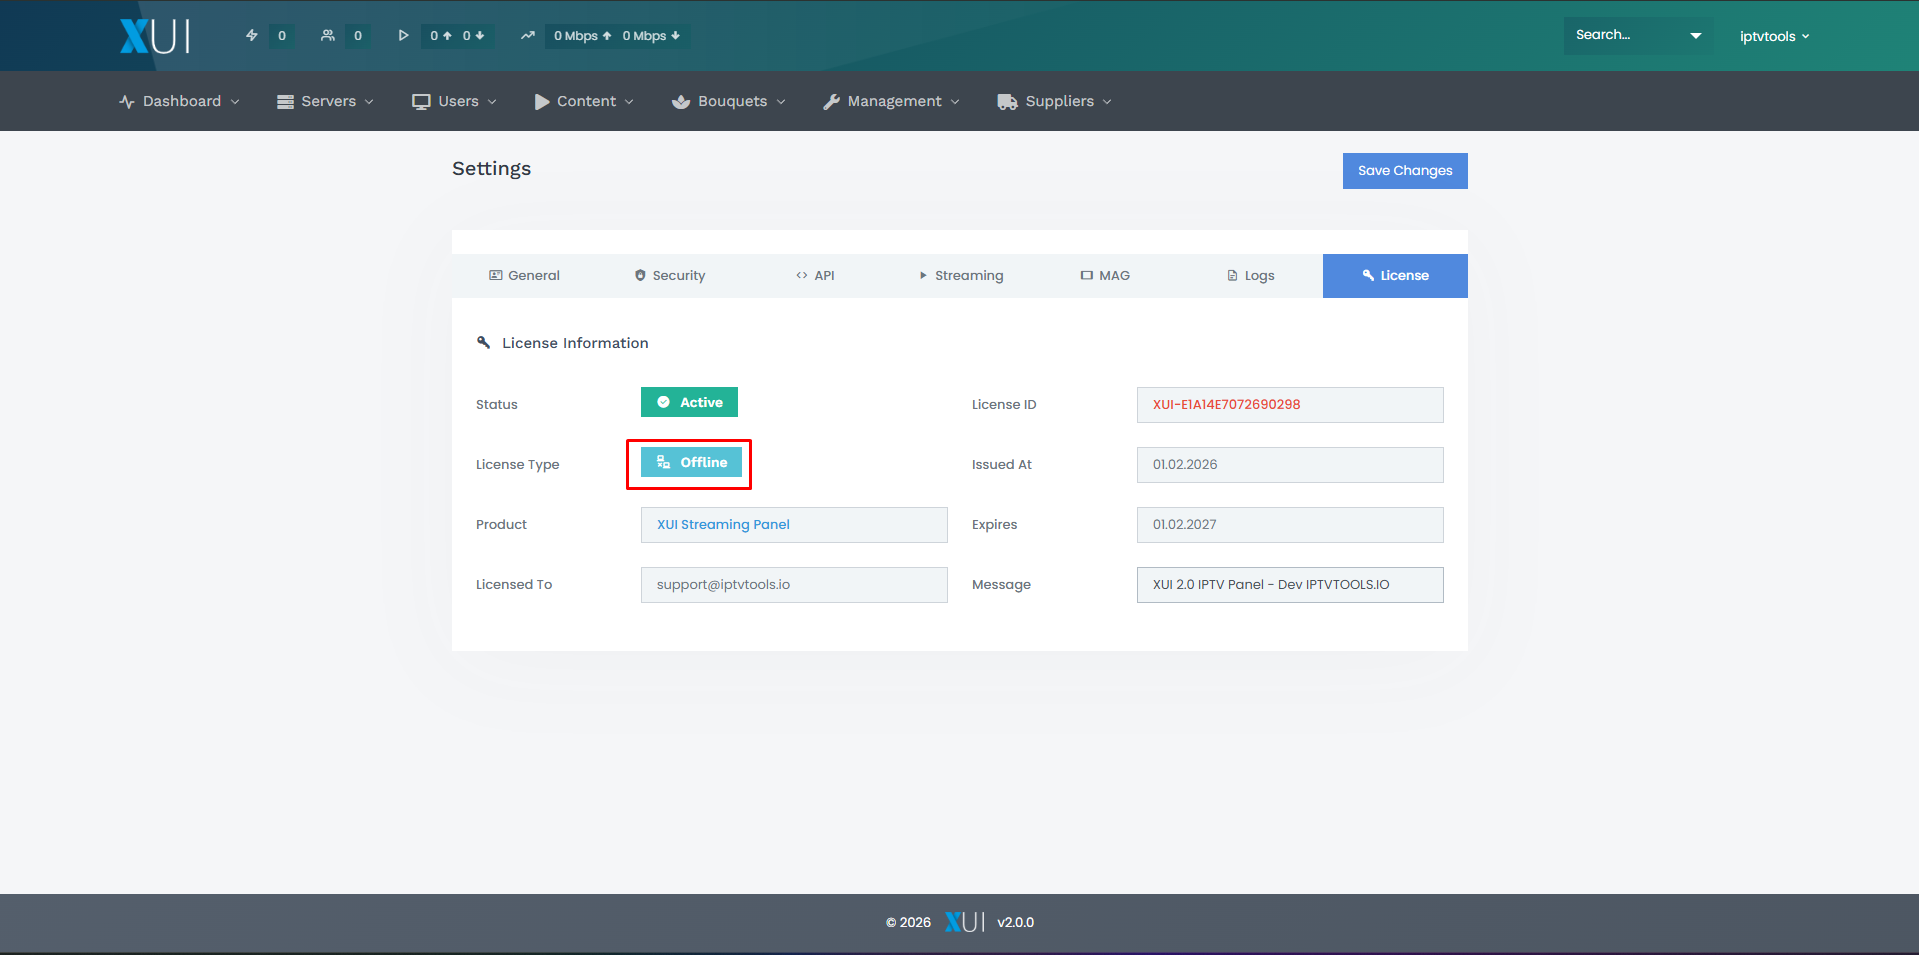
XUI 2.0 uses an offline license system.
- A hardware based HWID hash is generated automatically
- Copy the HWID and send it to us via Telegram or Email
We will generate your XUI 2.0 license key.
Important Licensing Notes
- The license works fully offline
- No external license server is required
- The goal is community protection and scam prevention
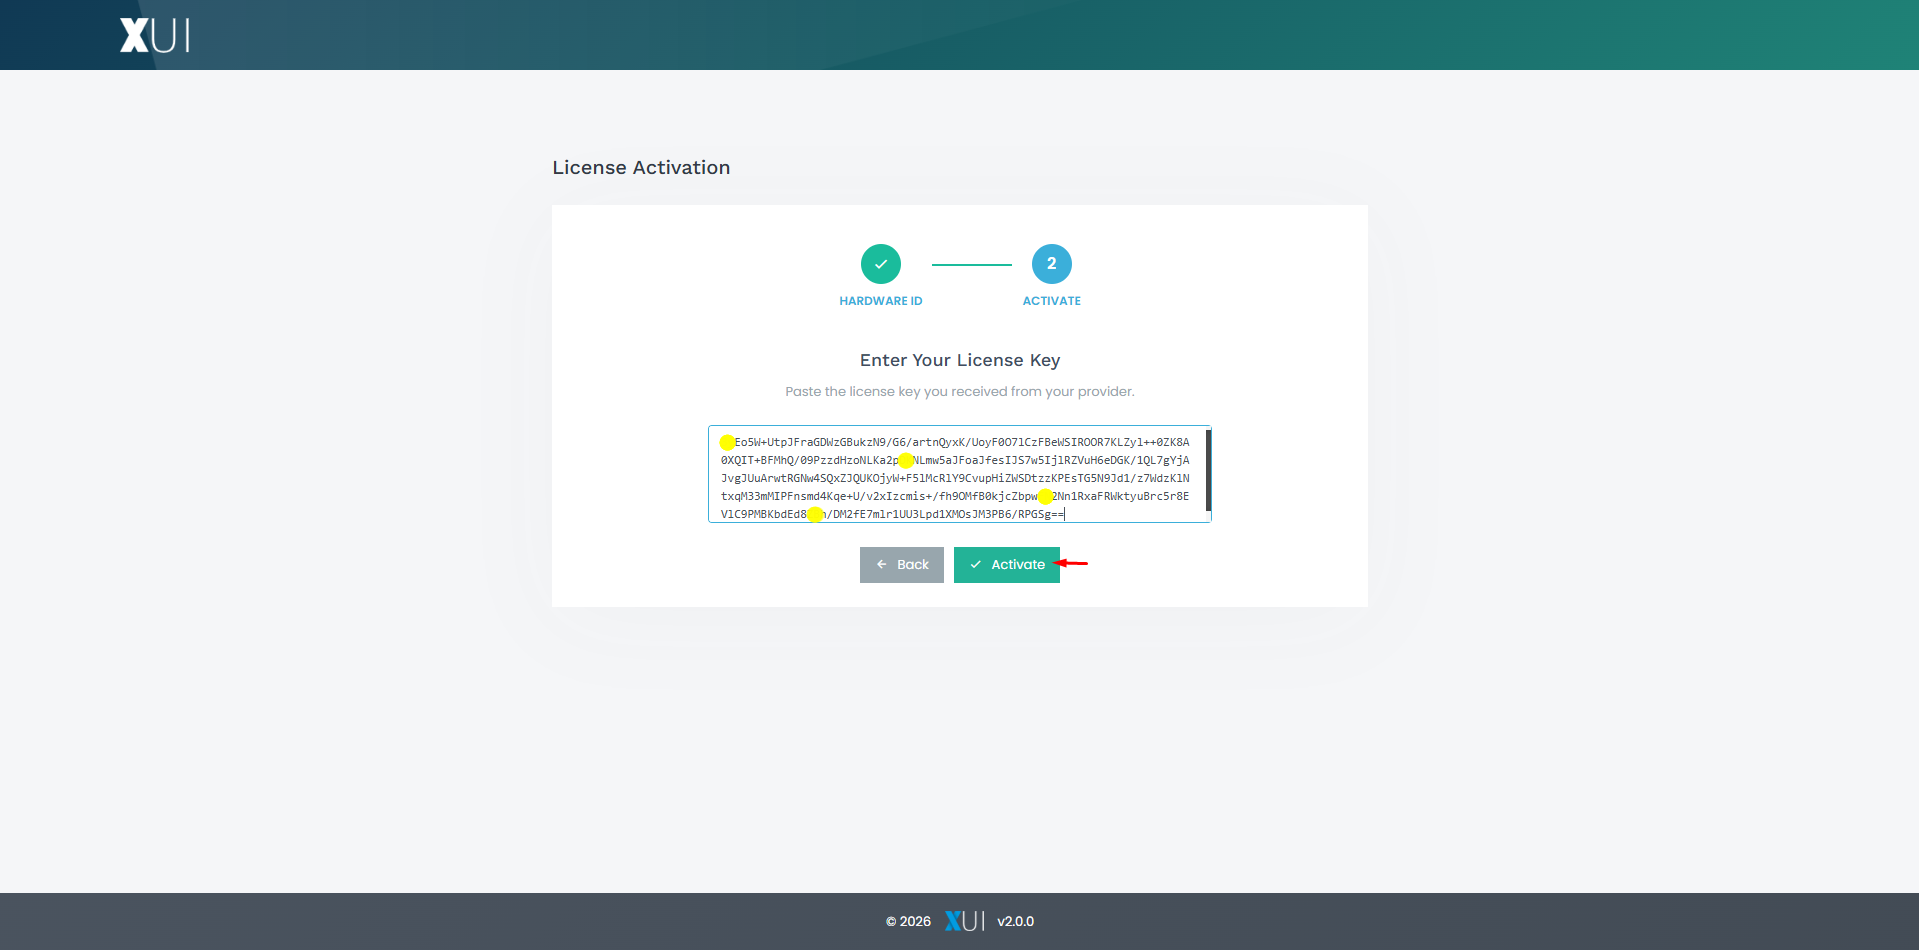
🔓 Step 5. Activate the License
Paste the license key into the activation field and click Activate.
⚡ First Setup
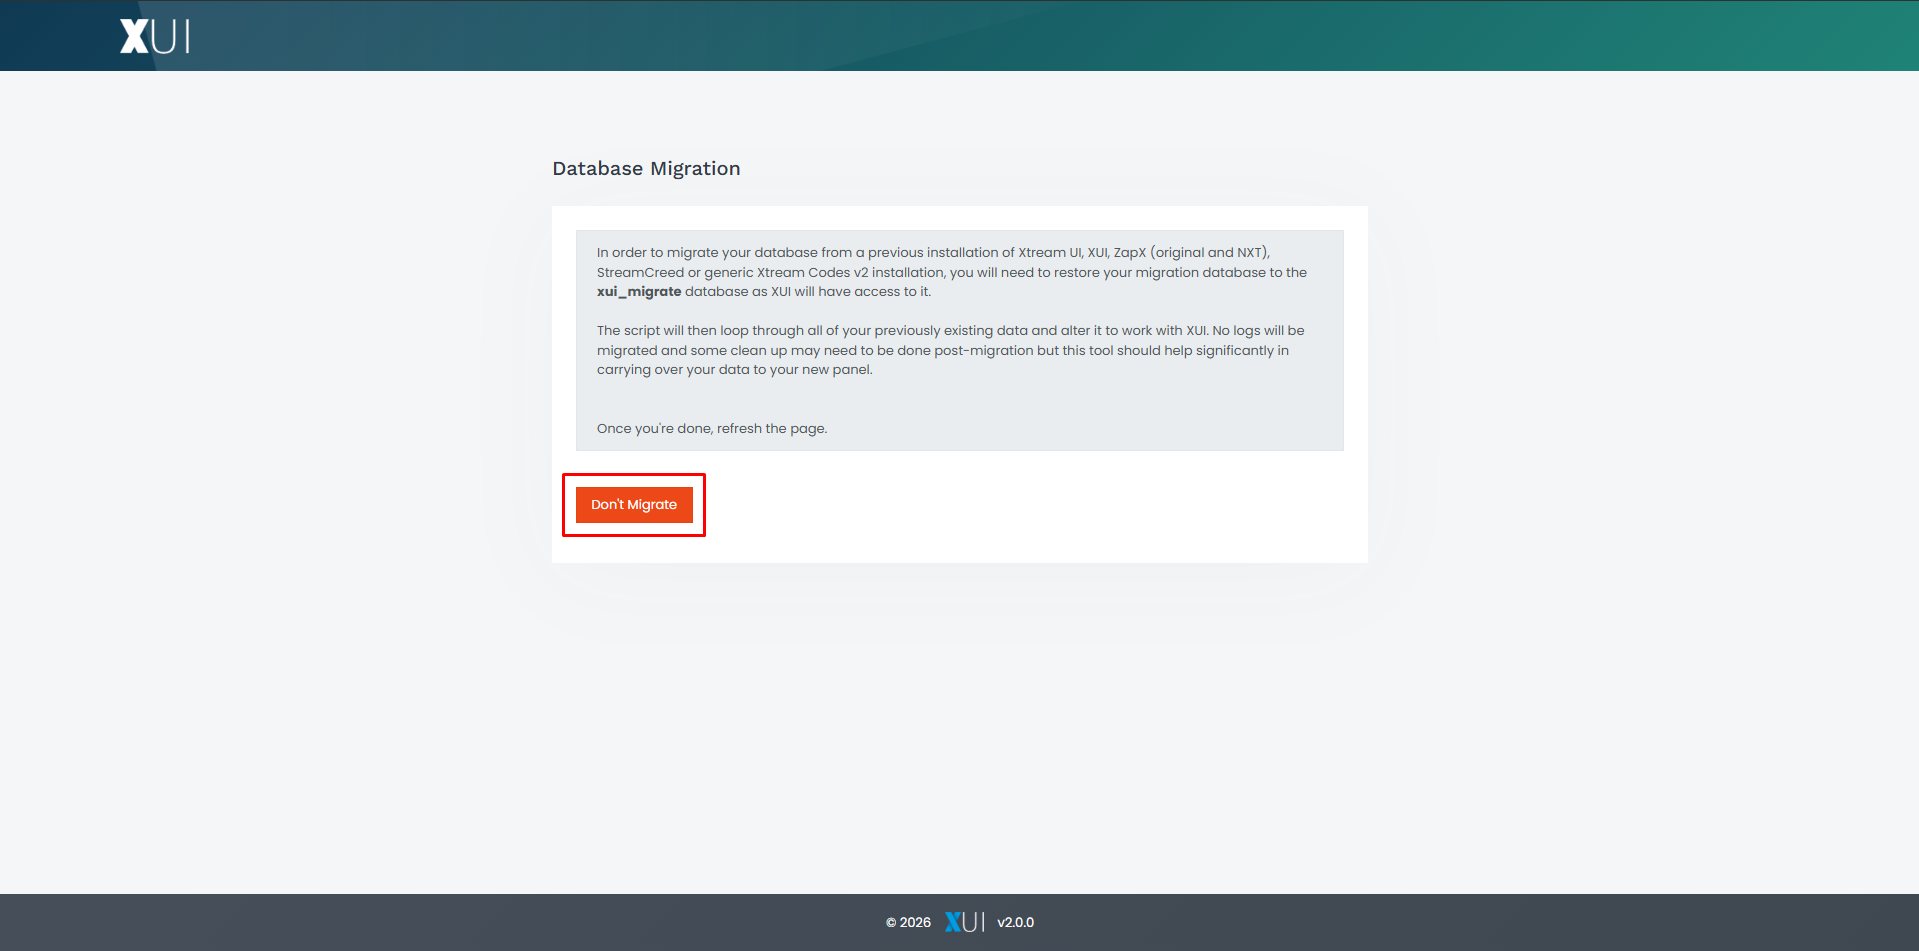
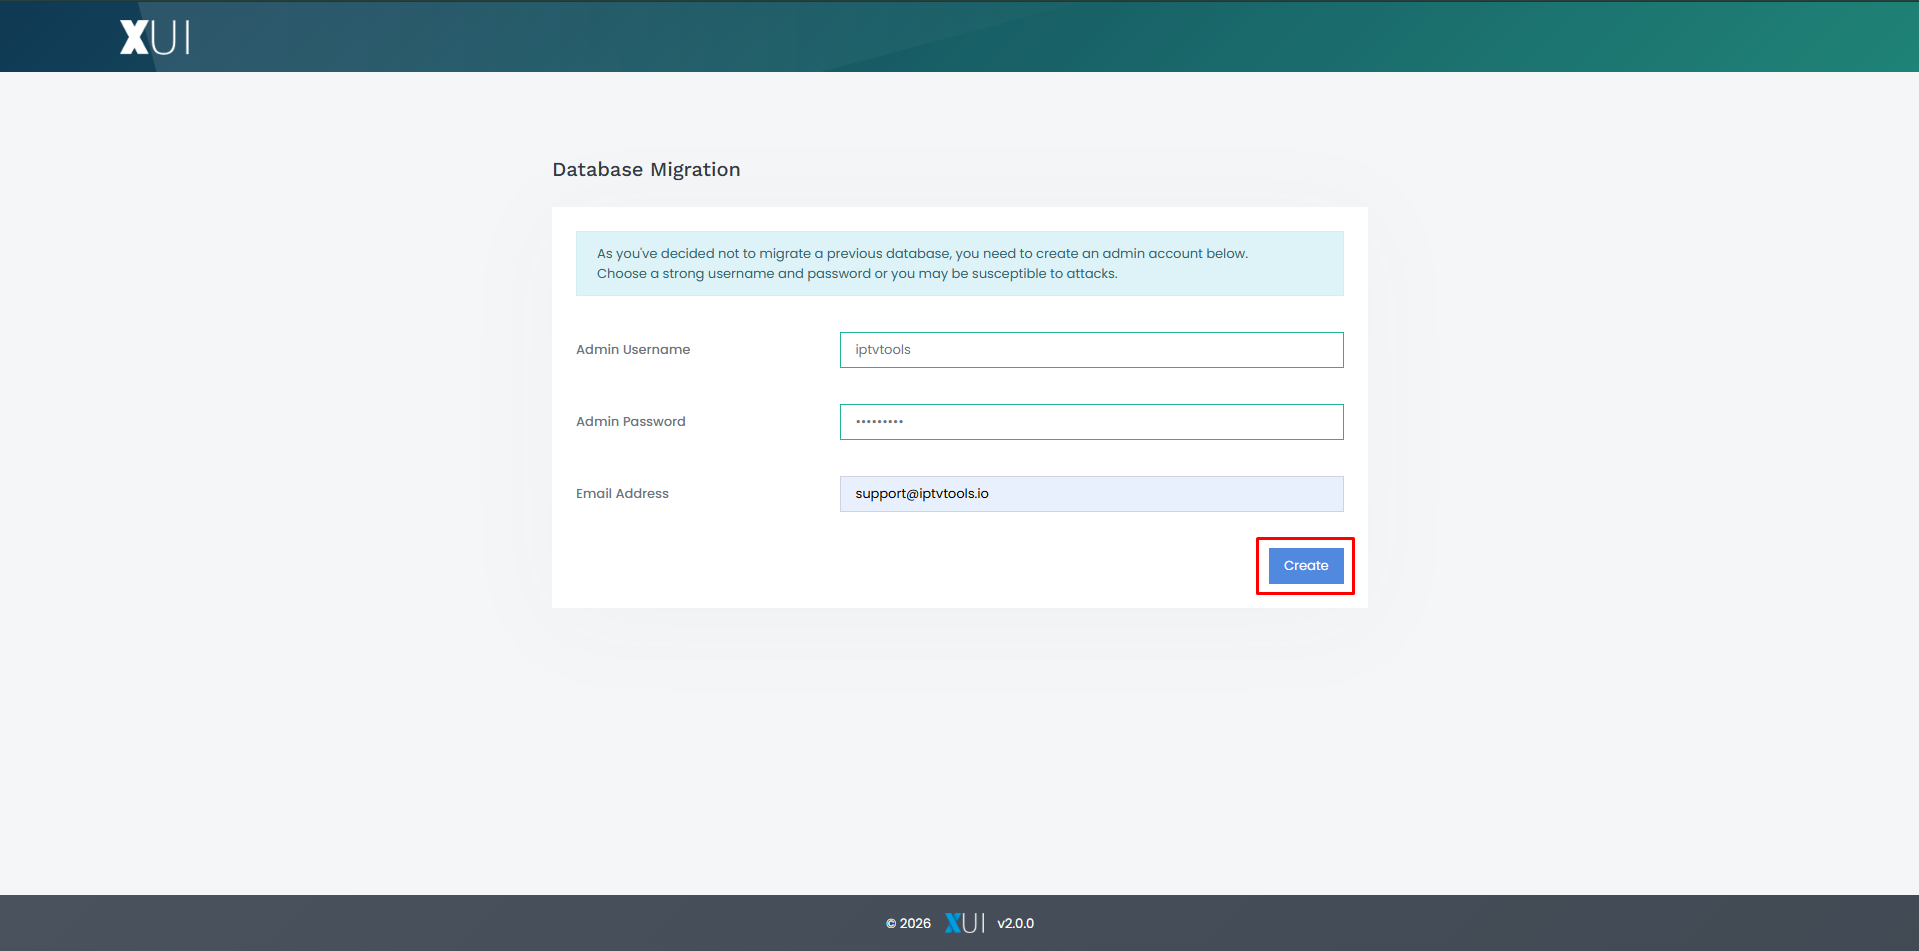
After activation, you will enter the First Setup process.
Here you can configure basic settings and prepare your IPTV environment.
XUI 2.0 runs native PHP 8.3 without hacks or compatibility tricks, ensuring long term stability and performance.
XUI 2.0 Full Access
🧩 Final Notes
This is the first official release of XUI 2.0.
Some features may require further optimization. Your feedback and bug reports are welcome.
Our goal is to build a stable, powerful, and modern IPTV streaming panel for the IPTVTOOLS.IO community.