XUI.one 1.5.13 Install Guide
Installing XUI.ONE 1.5.13 from scratch is simple if you follow this complete step-by-step tutorial. This guide assumes you have access to a dedicated server running Ubuntu 20.04.
🖥️ Recommended Server Specifications
To ensure a smooth IPTV experience with XUI.ONE, your server should meet these minimum specs:
- CPU: Intel Xeon or AMD Ryzen (6+ cores)
- RAM: 16–32 GB DDR4
- Storage: SSD or NVMe (480 GB or more)
- Network: Dedicated 1 Gbps port
- Operating System: Ubuntu 20.04 LTS (clean install)
🌐 Recommended Providers
We recommend choosing reliable and affordable providers such as:
- Hetzner – Affordable dedicated servers, scalable and reliable infrastructure.
- Worldstream – Great network performance, good pricing, and fast provisioning.
These providers offer excellent balance between price, performance, and flexibility, especially for IPTV services.
🔧 Step 1: Get Root Access
Once your server is installed with Ubuntu 20.04, open your terminal and run:
sudo su -Enter your server password when prompted. If successful, you will notice the terminal prompt change to #, indicating root access.
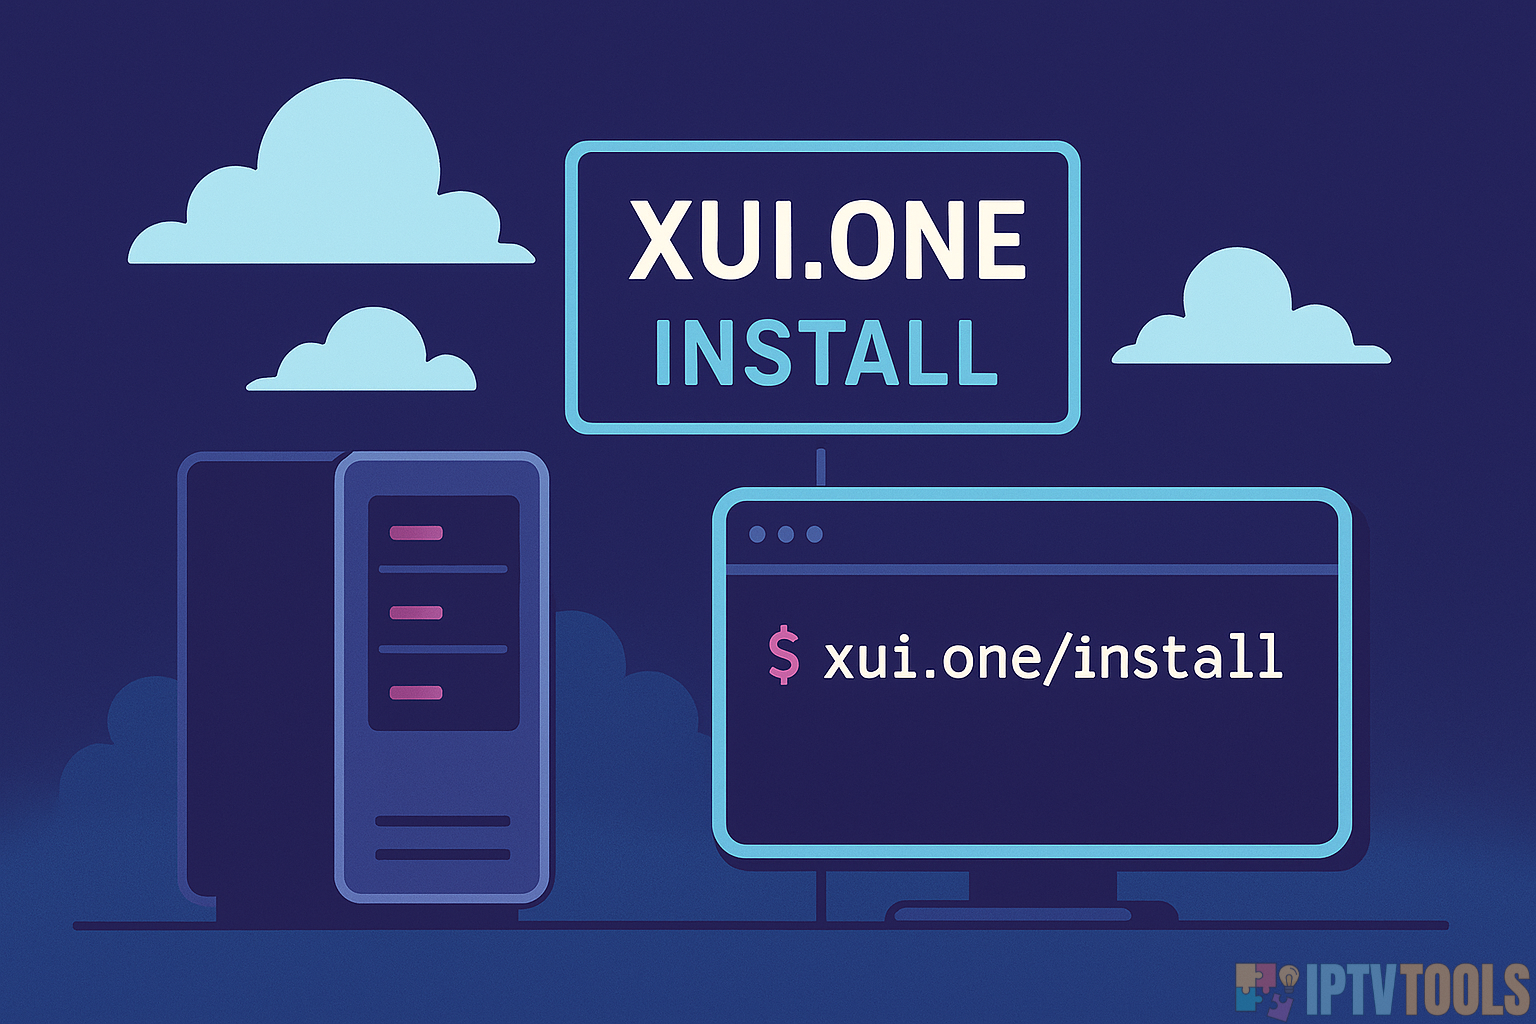
📦 Step 2: Download and Install XUI.ONE
Run the following command to begin the installation process:
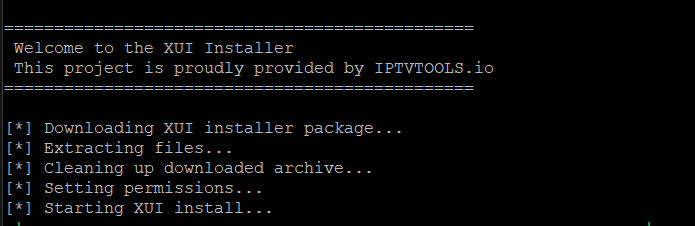
This installer will:
- Display a welcome message
- Download the
xui-1.5.13.tar.gzarchive - Extract all necessary files (
install,database.sql,xui.tar.gz) - Automatically clean up the archive
- Set execution permissions
- Launch the installer script
You will see all required packages being installed one by one in the terminal.
⚙️ Step 3: Configuration Prompt
During the installation process, a fully random license key will be generated automatically.
It will be exactly 16 hexadecimal characters, like this for example:a9f3b7e2c6d8140f
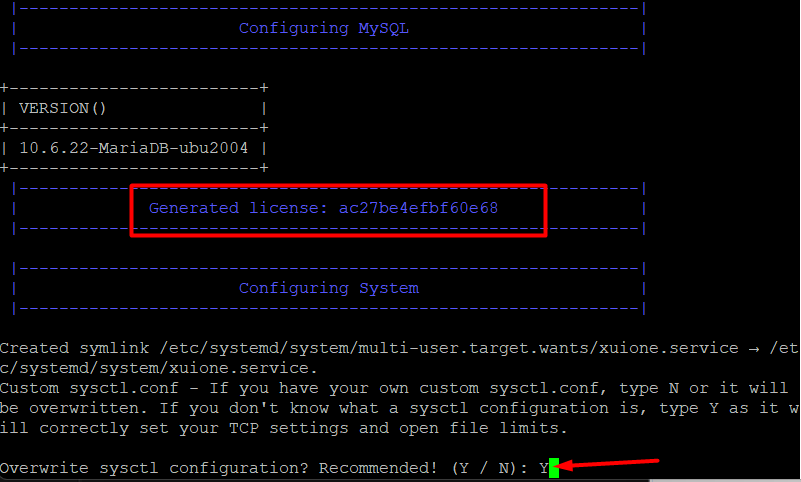
This license key will be written directly into the config.ini file.
During installation, you will be asked:
Overwrite sysctl configuration? Recommended! (Y / N):Type y and press Enter.
Installation will continue and finalize the setup including your license.
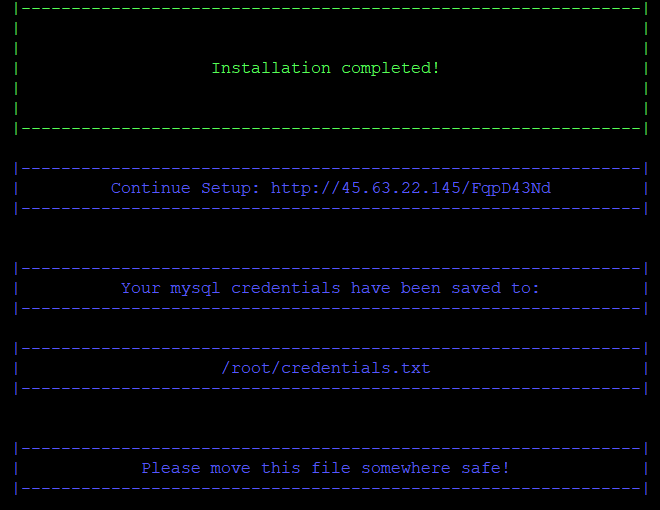
🔐 Final Step: Panel Access Info
After a few moments, the script will output the following:
- ✅ Access URL to your XUI.ONE panel
- 🔑 Secret connection code
- 🗂️ MySQL credentials saved at:
/root/credentials.txt
Make sure to save this information securely, as it will be required to log into your panel.
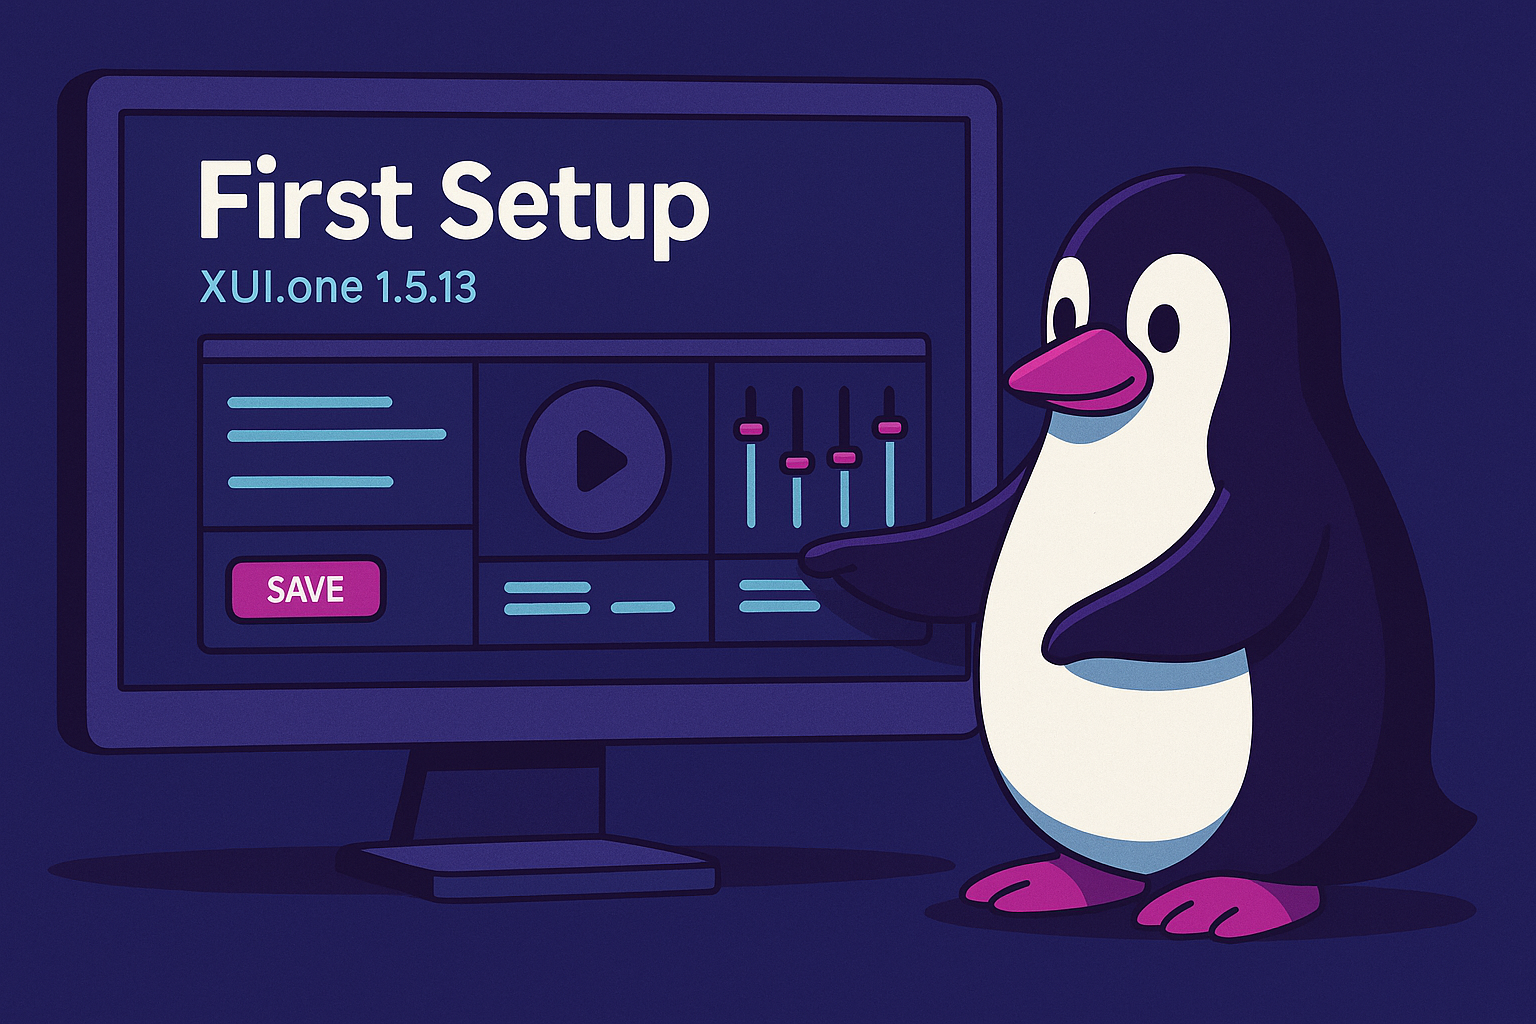
Once the system reboots, access the XUI panel and begin the initial setup process.
reboot🚀 What’s Next: Setup and Configuration
Once your panel is installed, log in using the URL and credentials provided. You can now:
- Add your IPTV streams and channels
- Configure load balancers
- Set up EPG sources
- Add users and resellers
- Secure the panel using the built-in key regeneration tool
📘 In the next tutorial, we’ll walk through the full configuration process inside the panel dashboard to get your IPTV system live.