WHMCS IPTV Integration (Lifetime-Ready) — Complete Step-by-Step Setup
Build a full IPTV billing stack with WHMCS + XUI.one. Learn what WHMCS is, why IPTV providers love it, and how to install, secure, and automate provisioning, invoices, emails, and payments—step by step.
💡 What Is WHMCS — And Why IPTV Providers Rely on It
WHMCS is an all-in-one billing & automation platform used to sell subscriptions, provision services, invoice customers, collect payments, and send emails. In IPTV/OTT, it’s popular because it delivers:
- Client Management: unified CRM, client portal, password resets, support tickets
- Recurring Billing: automated invoices, taxes/VAT, credit notes, refunds
- Payments: Stripe, PayPal, Crypto gateways, manual bank transfer
- Automation: daily cron for renewals, suspensions, reminders, and reports
- Extensibility: modules & hooks for IPTV panels (e.g., XUI.one, Xtream UI)
Smarters Billing Solution – XUI.one (Module Overview)
Smarters Billing Solution – XUI.one combines WHMCS with the XUI.one billing module so owners/resellers can automatically create, suspend, unsuspend, and terminate IPTV lines, sync expiry dates, and email credentials — all from WHMCS.
Legal & security note: always download WHMCS from the official vendor and use a valid license. Avoid cracked/modified builds; they can contain backdoors and violate the license.
📋 Prerequisites
- Hosting with PHP 7.4–8.x, Ioncube, MySQL 5.7+/MariaDB 10.3+
- A domain with SSL (HTTPS strongly recommended)
- WHMCS license (owned or leased from an authorized provider)
- XUI.one server (owner or reseller access)
- Smarters XUI.one billing module package
🛠️ WHMCS Installation — Step by Step
Download Latest WHMCS Lifetime/Nulled
Upload WHMCS files to your domain (e.g., public_html/billing/). Visit the installer URL (e.g., https://yourdomain.com/billing/install).
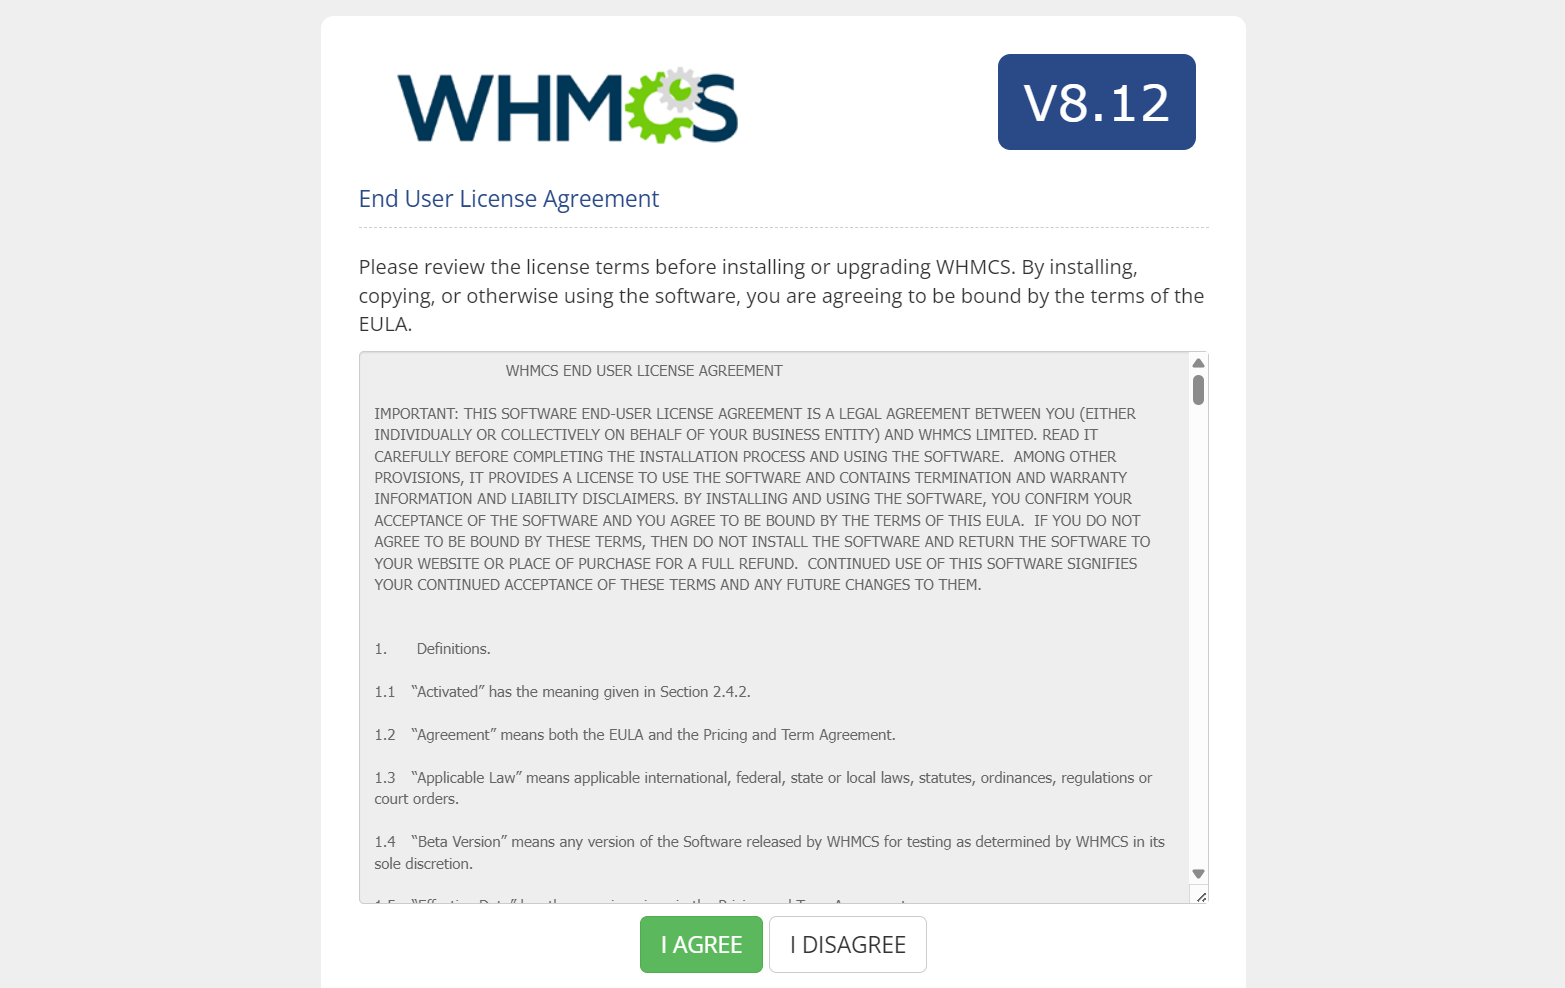
1) Accept EULA ✅
Read and accept the End User License Agreement to proceed.
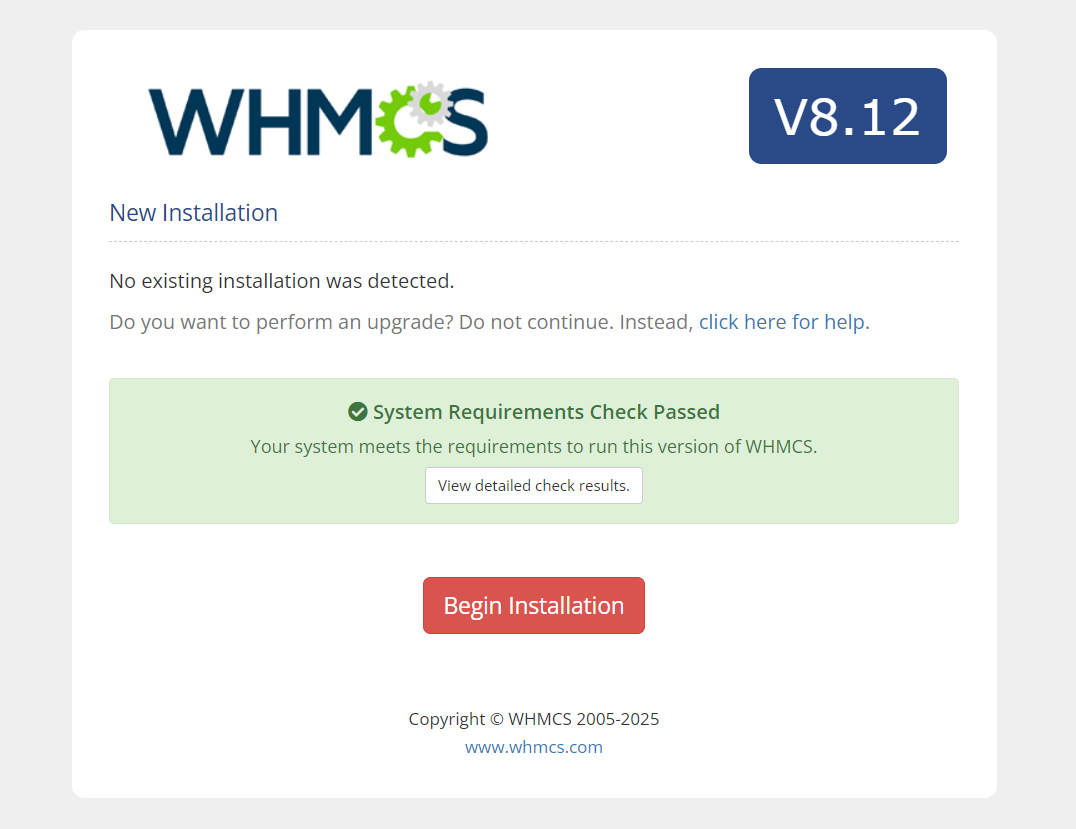
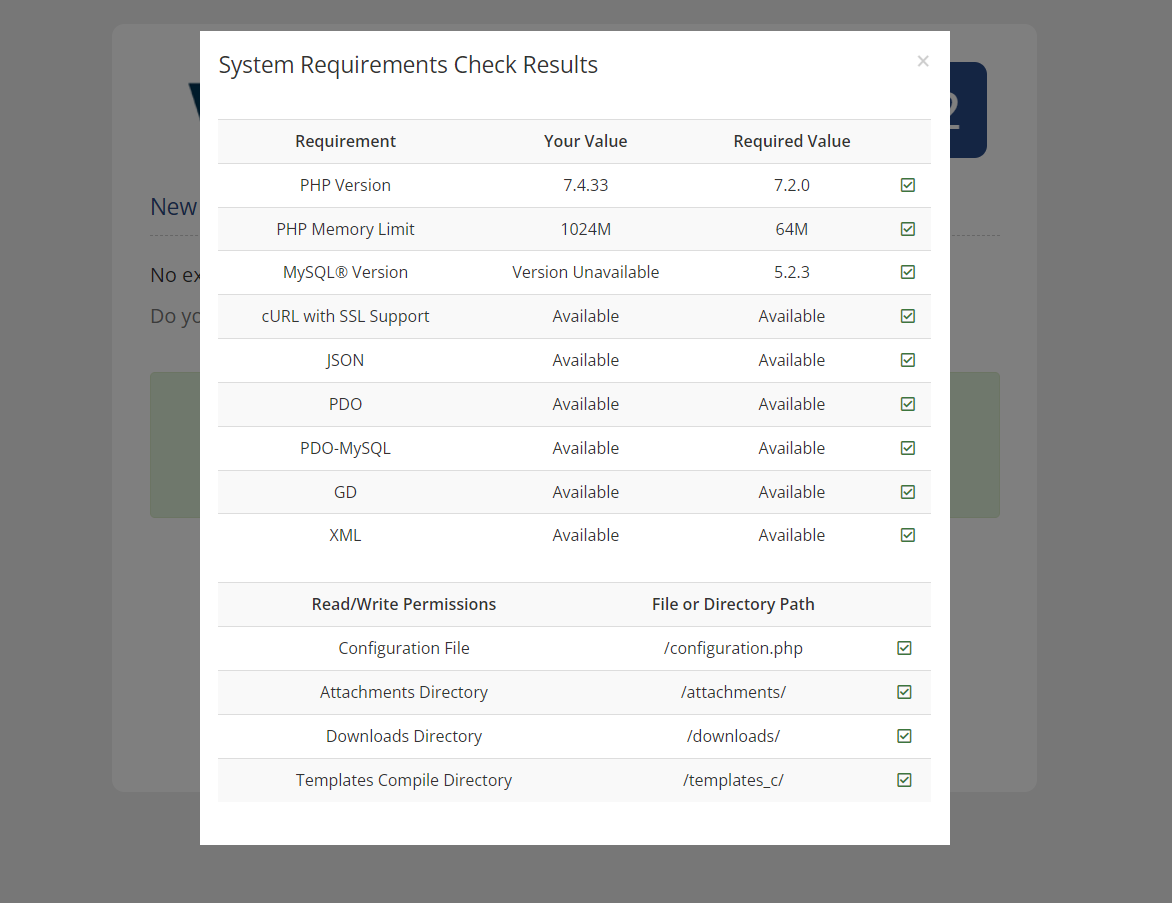
2) System Check ✅
You’ll see System Requirements Check Passed. Click Begin Installation.
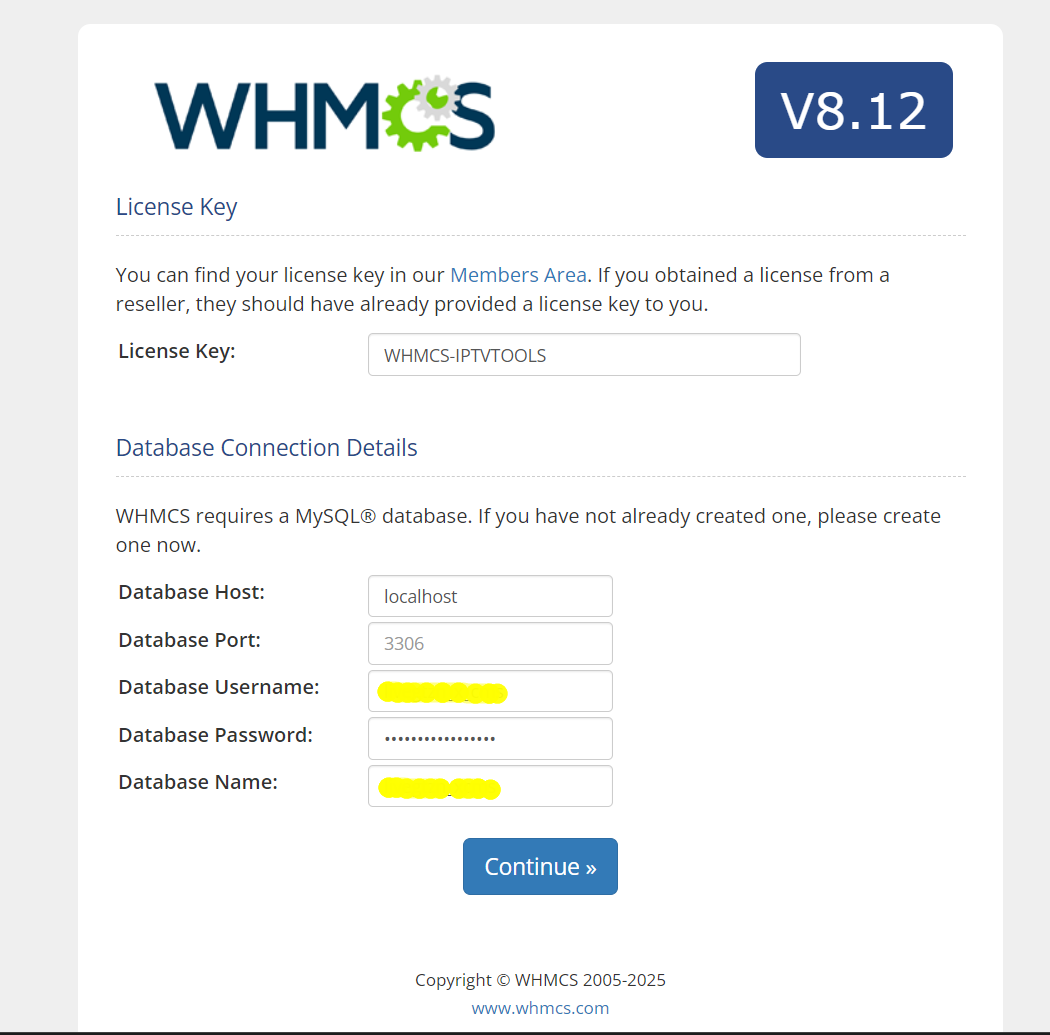
3) Database & License ✅
Enter your License Key and MySQL credentials:
- Host:
localhost - Port:
3306(default) - Database Name, Username, Password (created in cPanel)
Click Continue.
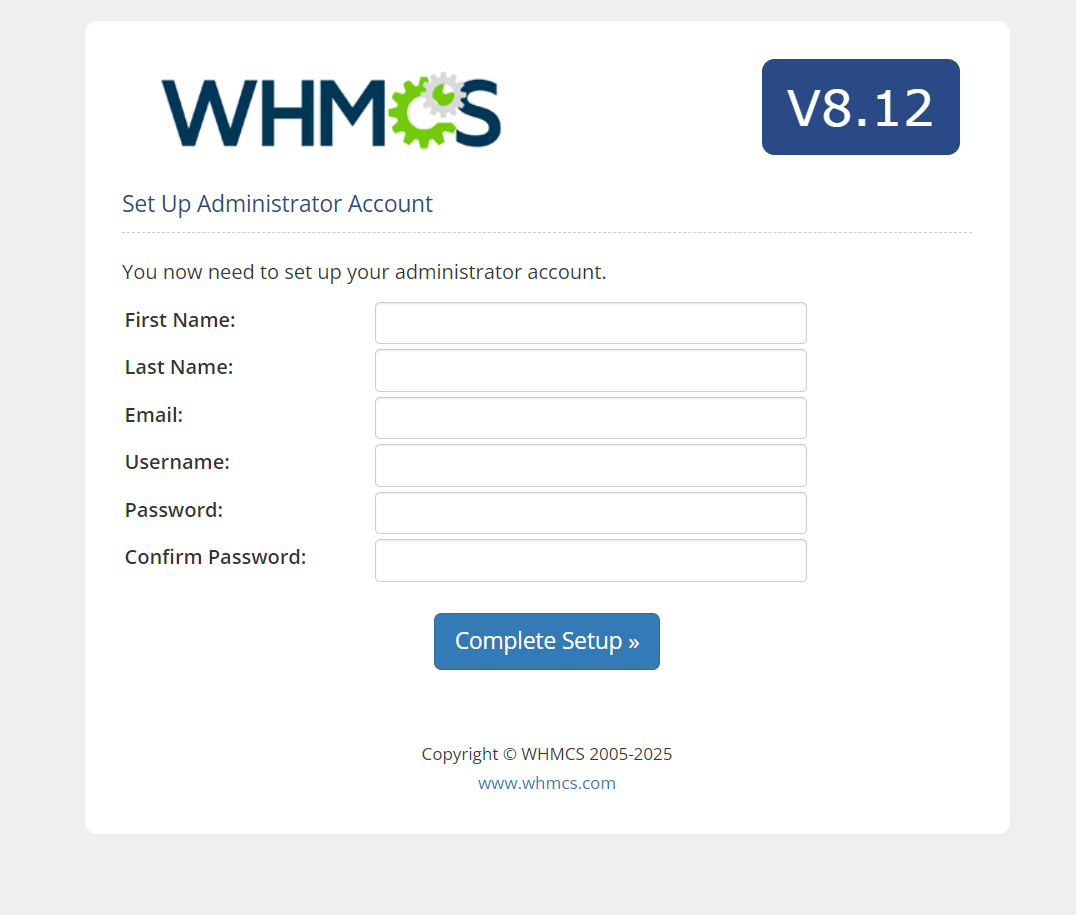
4) Create Admin Account ✅
Fill in First/Last Name, Email, Username, Password → Complete Setup.
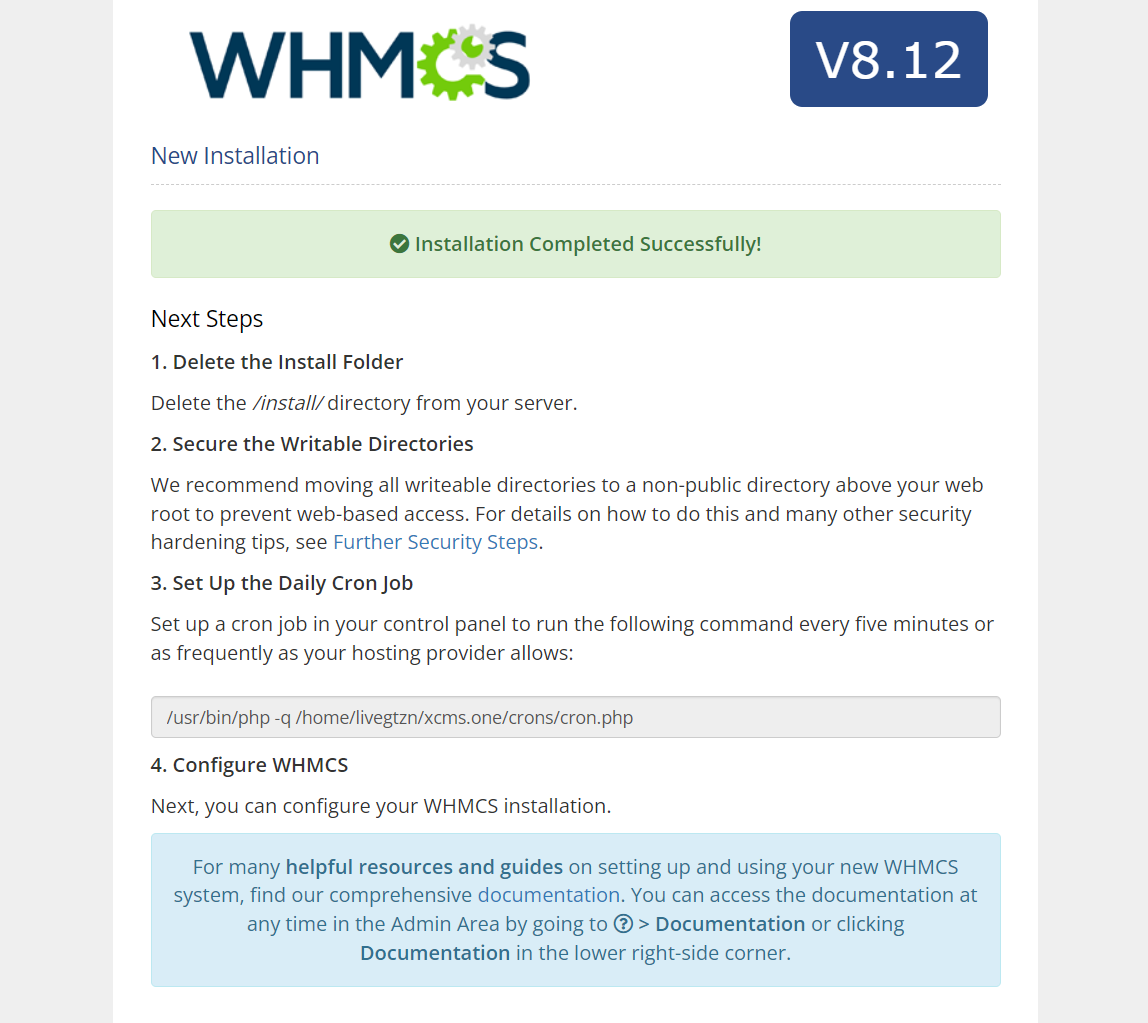
5) Post-Install Tasks ✅
You’ll see Installation Completed Successfully! Follow the on-screen “Next Steps”:
- Delete the
/installdirectory - Secure writeable directories (move
/attachments,/downloads,/templates_cabove web root if possible) - Set the Daily Cron (from the box shown). Typical cPanel cron every 5 minutes:
*/5 * * * * /usr/bin/php -q /home/USER/public_html/billing/crons/cron.php
⚙️ Essential WHMCS Configuration (Best Practices)
- General Setup: company name, base URL, logo, currency, timezone
- Tax/VAT: enable if required; set country-specific rules
- Payment Gateways: Stripe/PayPal/Crypto; enable test mode first
- Email: SMTP with SPF/DKIM; set branded templates and DMARC policy
- Security: force HTTPS, enable 2FA for admins, reCAPTCHA on login, restrict admin IPs
- Backups: daily MySQL + file backups (remote destination recommended)
🔒 Security & Compliance
- Keep WHMCS + modules updated
- Strong admin passwords + 2FA
- Secure
configuration.php(read-only) - WAF/CDN (Cloudflare), regular backups
- GDPR/CCPA compliance where applicable
- Stream only content you are licensed to provide
🩺 Quick Troubleshooting
- Provisioning fails? Recheck XUI API URL/port/credentials, firewall, module version
- Invoices not generating? Confirm cron runs; check Automation Status in WHMCS
- Emails not sending? Verify SMTP, SPF/DKIM/DMARC, and mail logs
🏆 Why WHMCS + XUI.one Wins for IPTV
- Single source of truth for clients, orders, invoices, and services
- Hands-off renewals with precise automation (create/suspend/terminate)
- Fewer chargebacks thanks to clear invoices & automated reminders
- Faster support with tickets, canned responses, and KB
- Scales with you — more servers, more gateways, more regions
❓ FAQ
Can I host WHMCS on shared hosting? Yes, if requirements are met. For production, a VPS or dedicated server is recommended or cPanel (easy).
Which payment gateways work best? Stripe + PayPal cover most regions; add local gateways/crypto if needed.
Does WHMCS send IPTV credentials automatically? Yes — via Welcome Email after the order is accepted and the module creates the line.
Can I sell trials safely? Yes; limit to one per client, require card, and auto-expire within 24–48h.